To explore and discover higher-level insights from the content you have read (and bookmarked) on the Quantumrun Foresight Platform, we recommend creating a Project page.
This project page will help your team visualize the insights from Quantumrun’s trend articles in ways that can help your organization make better business decisions.
- To start, log into your premium account.
- Click on the ‘Projects’ link in the main menu, or simply click here.
- You will then be directed to the project list page, which will display all of the projects your account has created.
- Next, you will click on the black button in the top-right corner of the page titled “CREATE NEW.” This will open a popup box with the fields required to create a new project page. (Please ensure your browser allows popups.)
- In the ‘Project type’ dropdown, select from various types of available project interfaces.
Details regarding what each project interface can do are explained in other parts of the tutorial guide.
- In the project popup, you will first see the ‘Project title’ field; enter an appropriate name for your project.
- Optional: In the ‘Project description’ field, enter an appropriate but brief description for your project.
- Optional: If you want, you can prepopulate your project with content from a List that (1) you created, (2) your coworkers created, or (3) a public list on the platform. Learn more.
- Optional: In the ‘Select who can access this project’ dropdown, you can select which members (company users) associated with your company account can access this project. You can also give them permission to just view your project or edit/collaborate with your project.
- Once the fields above are filled out, click on the “START PROJECT” button to launch your new project!
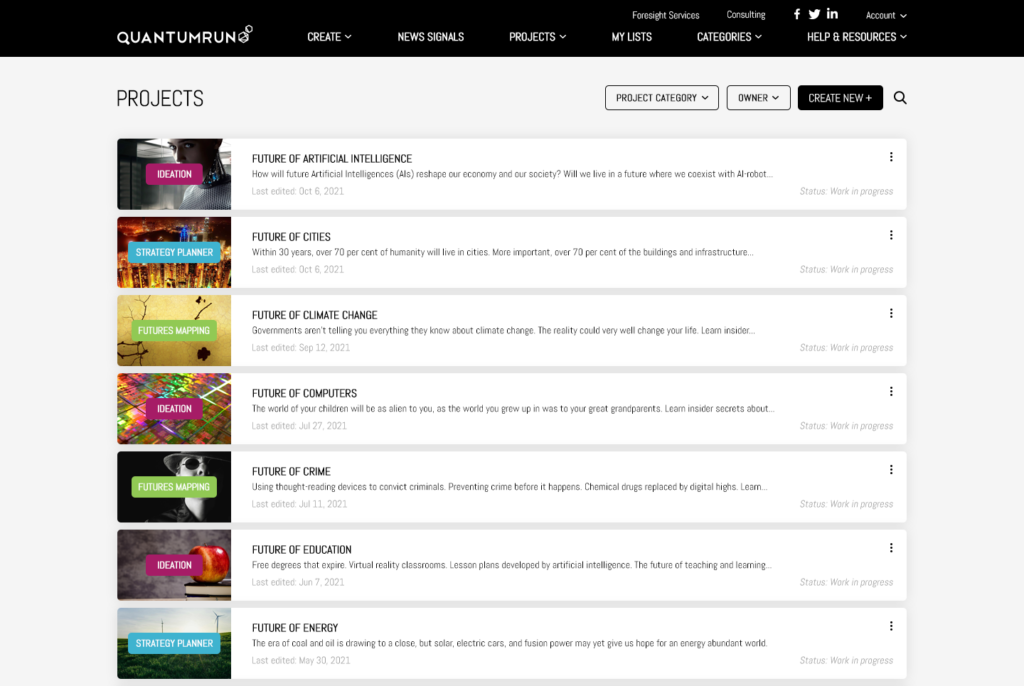
Note that once you create your project page, you can always go back and update these fields by clicking on the “SETTINGS” button found in the top-right corner of the project page OR by clicking on the right-most icon of the project rows on the project list page (see below).
To learn more about how to use the various Project page types once you have created them, please review the Project page training materials here.